A warm, step-by-step guide to thick Mexican drinkable desserts, from classic champurrado to cozy vanilla atole, plus tips for smooth texture every time.
The Mexi Plate
Authentic Conchas for Beginners

Elena Valdés
Elena Valdés is a Mexican-American home cook and the culinary heart behind MexiPlate. Inspired by the bustling kitchens of her childhood in Jalisco and Texas, she specializes in translating authentic Mexican flavors into approachable recipes for everyday cooks. Whether she is sharing her grandmother's secret for the perfect tamale masa or a quick 30-minute weeknight enchilada bake, Elena believes that good food is the best way to bring people together.
Published October 17, 2026
Updated October 17, 2026
Conchas were one of my very first "I can do this at home" pan dulce victories. I still remember the smell from panaderías in San Antonio: warm vanilla, butter, and that sweet, crackly topping that always left a little sandy sugar on your fingertips. The good news is you do not need bakery equipment to make conchas that feel truly authentic. You need a friendly dough, a patient rise, and a topping you learn to handle like soft play-dough.
Recipe note: This guide focuses on technique. For exact measurements and yield, use the recipe card for this post.
What makes a concha
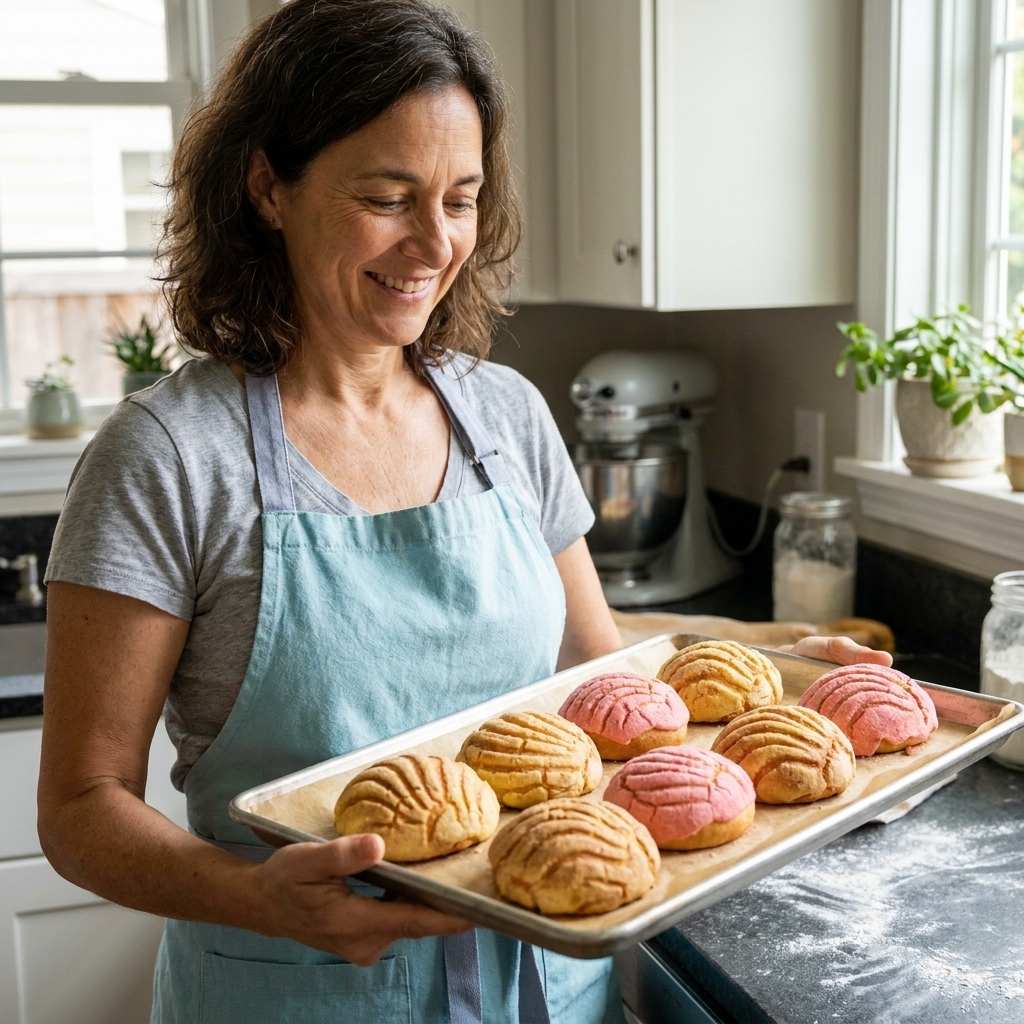
A concha is an enriched yeast sweet bread (pan dulce) topped with a thin layer of sugar paste that is scored in a shell pattern before baking. When baked correctly, you get two textures at once:
- Soft, airy bread that tears like a pillowy dinner roll, lightly sweet and buttery.
- Crunchy, sandy topping that sets into a delicate crust and cracks along the score lines.
Traditional flavors vary by region and panadería, but vanilla and chocolate are among the most common. You will also see cinnamon, strawberry-pink, and plain white depending on where you buy them. The dough is usually lightly sweet, so the topping is where the personality lives.
Ingredients you need
Conchas look fancy, but the ingredient list is very normal. I am including smart swaps because I want you to bake these even if your pantry is not perfect panadería.
For the dough
- All-purpose flour: Bread flour works too, but AP is classic for home baking.
- Yeast: Instant or active dry are both fine.
- Milk: Whole milk gives the most tender crumb.
- Sugar: Just enough to sweeten and to help the yeast along.
- Eggs: Richness and structure.
- Butter: Softened. This is an enriched dough, so butter matters.
- Salt: A small amount makes everything taste more like itself.
- Vanilla: Optional in the dough, but lovely.
For the topping
- Powdered sugar: Gives that signature melt-in-your-mouth sweetness.
- Flour: Helps the paste set and keep its pattern.
- Butter or vegetable shortening: Butter tastes best. Shortening makes the pattern extra crisp and stable. A half-and-half blend is a great compromise.
- Vanilla or cocoa powder: For flavor and color.
Note on measurements: Concha dough depends on feel and environment. The cues below (texture, rise, doneness) keep conchas consistent even when humidity, flour brands, or altitude change.
Tools and setup
You do not need special concha cutters, but a few basics make your life easier:
- Stand mixer with a dough hook is helpful, but you can knead by hand.
- Kitchen scale (highly recommended for consistent dough).
- Sheet pans and parchment paper.
- Bench scraper for portioning.
- Sharp paring knife or concha cutter for scoring.
Before you start, make sure your butter is truly softened and your milk is warm, not hot. If you can comfortably dip a finger in it, it is the right temperature.
Set your oven rack in the middle position so the bottoms brown gently without over-coloring the topping.
Step by step
1) Wake up the yeast
If you are using active dry yeast, stir it into warm milk with a spoonful of the sugar and let it sit 5 to 10 minutes until foamy. That foam is your sign the yeast is alive and ready. If you are using instant yeast, you can mix it straight into the dry ingredients.
2) Mix the dough
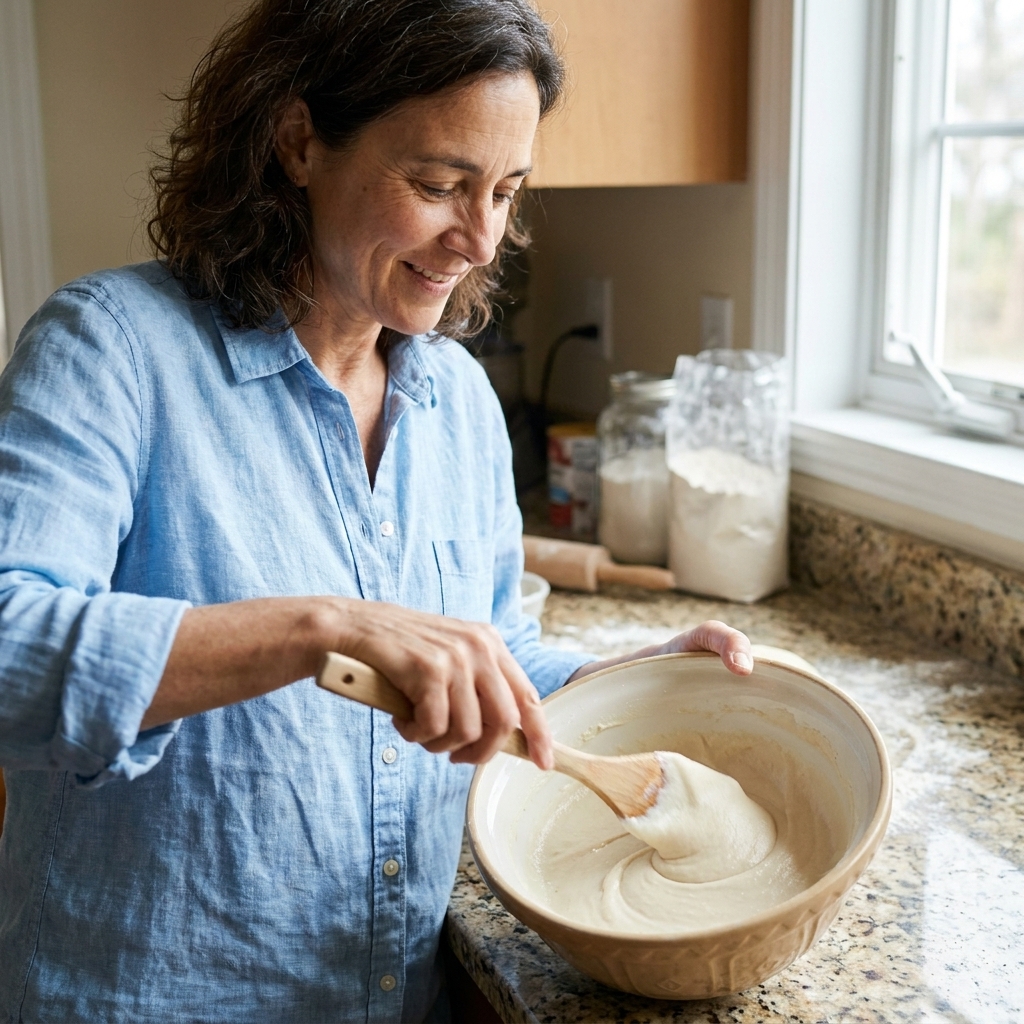
Mix flour, sugar, and salt first. Add milk, eggs, and vanilla, then mix until a shaggy dough forms. Once it comes together, start adding softened butter a little at a time. This part feels messy at first. Keep going. The dough becomes smooth and elastic as the butter absorbs.
What you are looking for: A dough that feels soft and slightly tacky, but not wet. Enriched dough is supposed to cling a little. If it is sticking like glue, add flour 1 tablespoon at a time, and stop as soon as it becomes workable.
3) Knead until elastic
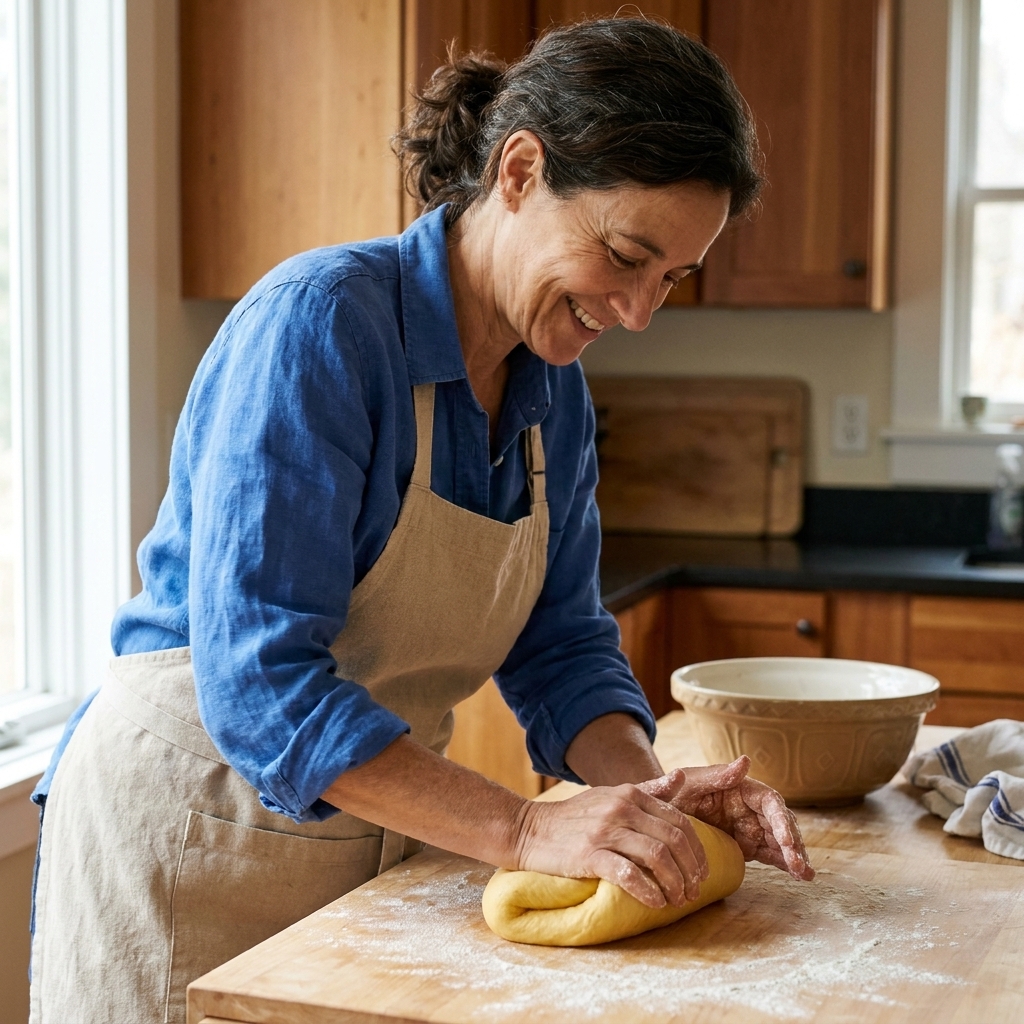
Knead until the dough stretches without tearing too quickly. This is the beginner-friendly version of the windowpane test: pull off a small piece and stretch it gently. If you can get a thin, almost translucent sheet before it rips, you are in a good place. In a stand mixer this can take 8 to 12 minutes. By hand, expect 12 to 15 minutes with short breaks. Enriched dough takes patience.
4) First rise
Place the dough in a lightly greased bowl, cover, and let rise until doubled. In a warm kitchen this is usually 60 to 90 minutes. In a cooler kitchen, it can take 2 hours.
My abuela tip: The dough should feel puffy and airy when you press it gently. Time is just a suggestion, your dough is the truth.
5) Portion and shape
Turn out the dough, gently press out big air bubbles, and divide into equal pieces. For classic concha size, aim for about 75 to 90 grams each. Shape each portion into a tight ball by pulling the surface taut and pinching underneath. Place on parchment-lined sheet pans with room to expand.
6) Make the topping
Cream butter (or butter and shortening) with powdered sugar until smooth, then mix in flour and flavoring. The texture should be like soft cookie dough: pliable, not crumbly, not runny.
- If it is crumbly, add a tiny bit more softened fat.
- If it is too sticky, add a teaspoon of flour at a time.
7) Top and score
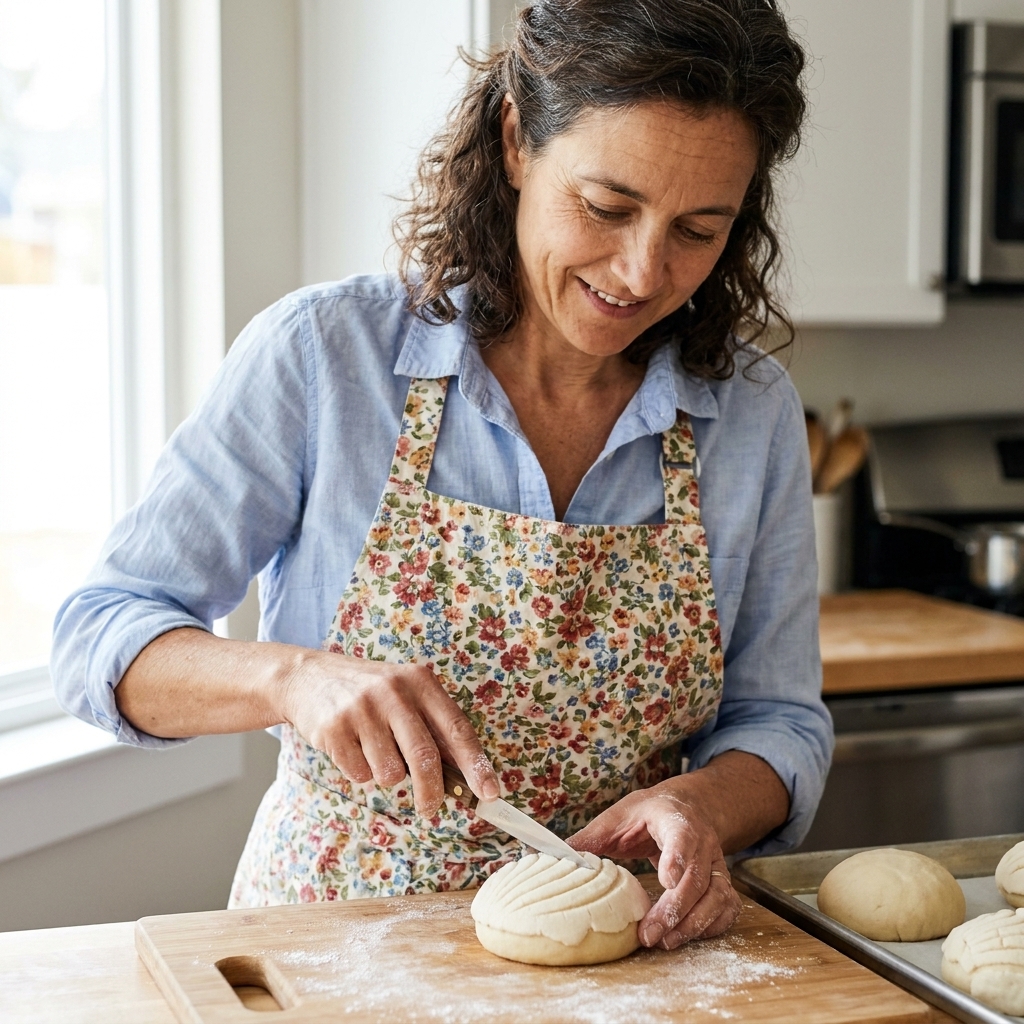
Divide topping into the same number of portions as your dough. Flatten each topping piece into a thin disc, about 3 to 4 inches wide, and lay it over the dough ball. Gently pat to adhere. Then score the shell pattern using a concha cutter or a paring knife. You want to cut through the topping, not deep into the bread.
8) Second rise
Cover loosely and let the conchas rise until visibly puffy and lighter, about 30 to 60 minutes depending on room temperature. They should look inflated, not tight and dense.
Small detail that helps: Avoid covering them airtight. Trapped moisture can soften the topping and blur the pattern.
9) Bake
Bake at 350°F until the bottoms are lightly golden and the topping looks set. For standard 75 to 90 gram conchas, this is usually 15 to 20 minutes. Larger conchas often need 20 to 25 minutes.
- Doneness cues: The conchas should feel light for their size, the bread should spring back when pressed gently on the side, and the bottoms should be a pale golden brown.
- Optional internal temperature: If you like numbers, aim for about 190°F to 200°F in the center. Closer to 190°F bakes up softer, closer to 200°F is a bit firmer and more set.
- Oven reality check: If your oven bakes unevenly, rotate the pan halfway through.
Let them cool on the pan for 5 minutes, then transfer to a rack.
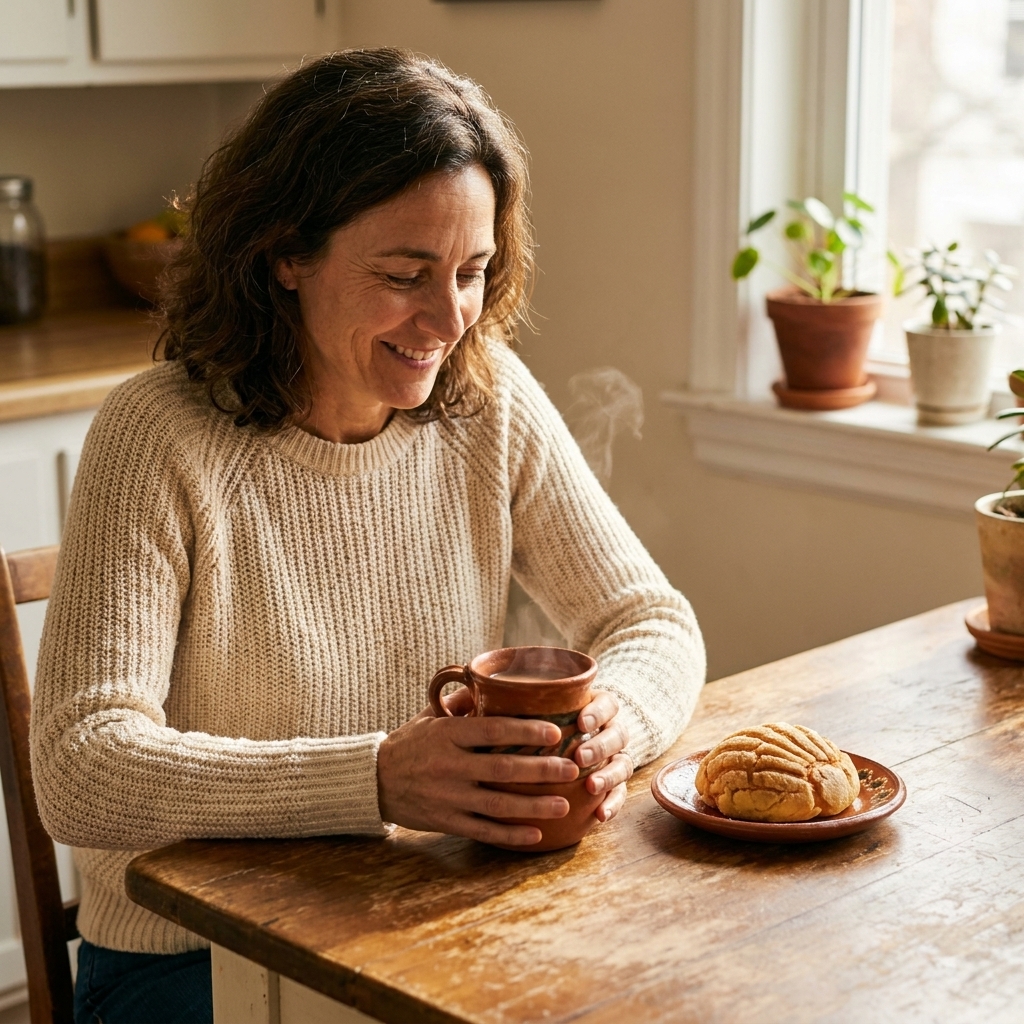
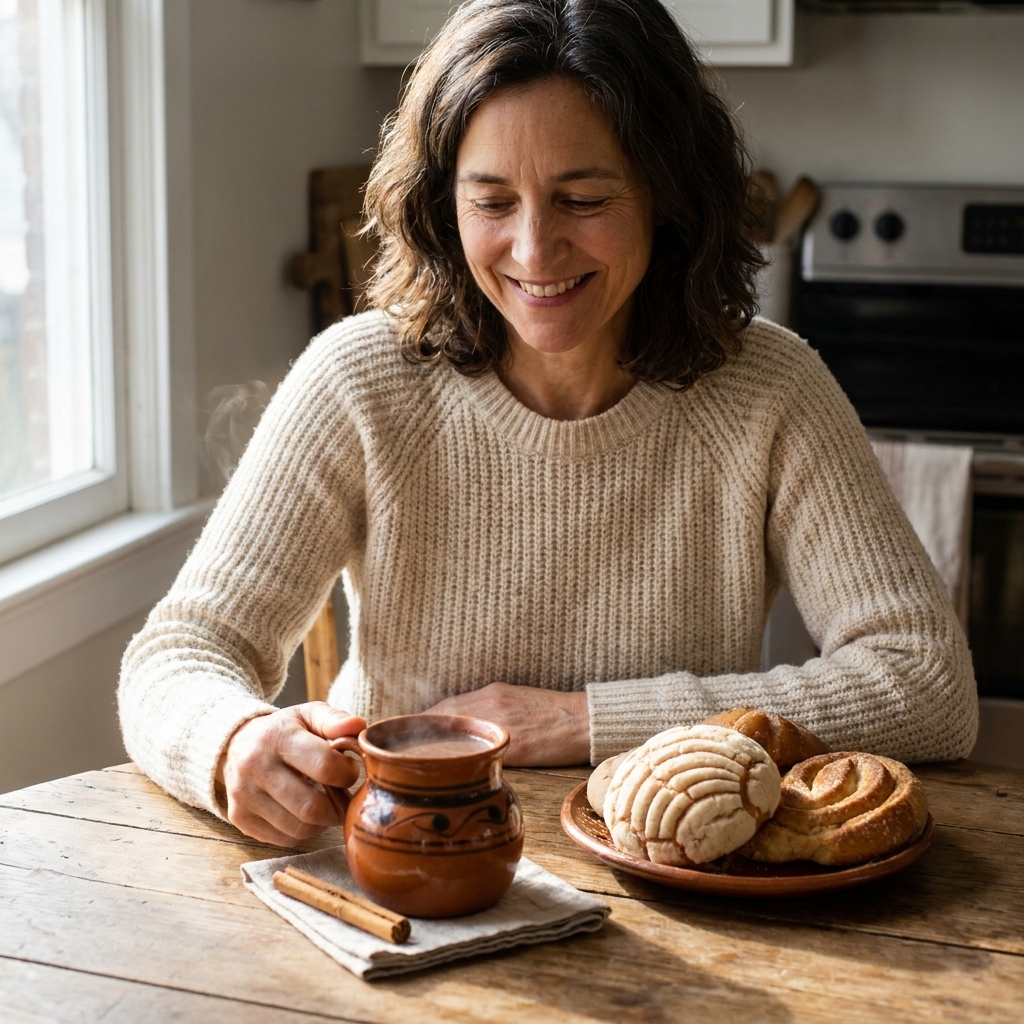
Conchas are best the day they are baked, still a little warm, ideally with coffee, hot chocolate, or café de olla.
Another abuela habit: If you grew up dunking your concha in your drink, you are in good company.
Soft and airy every time
- Do not rush the rise. Underproofed dough bakes up tight and bready.
- Add butter gradually. Dumping it in all at once can make the dough greasy and slow to develop gluten.
- Use flour lightly. A slightly tacky dough bakes up tender. Add only what you need to make it workable.
- Warm helps. If your kitchen is cold, let the dough rise in the oven with the light on (oven off).
- Weigh flour when you can. Cup measurements can swing wildly, especially in humid weather or if flour gets packed.
Common problems
They did not rise much
- Yeast may be old, or milk was too hot and damaged it.
- Your kitchen may be cold. Give it more time or a warmer spot.
- Too much flour can weigh the dough down.
The topping slid off
- Topping was too warm or too soft. Chill it 10 to 15 minutes, then try again.
- Dough was overproofed and too domed. Next time proof a little less.
- Not enough flour in the topping. Add 1 to 2 teaspoons more.
The pattern disappeared
- Scoring was too shallow. Next time score a bit deeper into the topping.
- Topping layer was too thick. A thinner layer holds detail better.
- Dough overproofed and expanded too aggressively.
They turned out dry
- Overbaked, or the dough was too stiff from excess flour. Pull them when the bottoms are lightly golden and the bread springs back.
- Stored uncovered. Keep conchas in a bag or airtight container once fully cool.
Flavor ideas
Once you learn the base, you can play without losing the soul of the recipe.
- Vanilla: Add Mexican vanilla to the topping.
- Chocolate: Unsweetened cocoa powder in the topping, plus a pinch of cinnamon.
- Canela: Cinnamon in the topping and a little orange zest in the dough.
- Café: Instant espresso powder in the topping for a coffee concha.
If you want color, use a tiny amount of gel food coloring in the topping. A little goes a long way and will not water down the paste.
Make-ahead and storage
To store
Keep conchas at room temperature in an airtight container up to 2 days. If your house is dry, some bakers tuck a small piece of tortilla or a slice of bread into the container to help maintain softness.
To freeze
Freeze fully cooled conchas in a freezer bag for up to 2 months. Thaw at room temperature, then warm in a 300°F oven for 5 to 8 minutes to refresh the crumb and crisp the topping.
Refrigerate the dough
Yes. After the first rise, you can cover and refrigerate the dough overnight. The next day, let it sit at room temperature 30 to 60 minutes, then shape, top, proof, and bake. Cold dough is actually easier to portion neatly.
Beginner checklist
- Dough is soft and elastic before the first rise.
- First rise reaches about double in size.
- Topping feels like soft cookie dough, not greasy or crumbly.
- Topping discs are thin and even.
- Score through topping without cutting deep into dough.
- Second rise makes conchas look puffy, not collapsed.
- Bake until bottoms are lightly golden and topping is set.
FAQ
Can I make conchas without a stand mixer?
Yes. It just takes a little elbow grease. Knead until the dough becomes smooth and stretchy. If it starts to feel greasy while kneading, rest it 5 minutes, then continue.
Butter or shortening for the topping?
Butter tastes richer. Shortening gives a more defined pattern and a crisper bite. If you want the best of both worlds, use half butter and half shortening in the topping.
Why are my conchas dense even though they rose?
Often it is under-kneading in an enriched dough. You want enough gluten development to trap air. Next time, knead a few minutes longer before the first rise and be gentle when shaping.
Do I need an egg wash?
You do not need one. Most of the shine and color comes from the enriched dough and the topping. If you want a slightly deeper brown on the bread (not the topping), you can brush a very light egg wash on the exposed dough only, avoiding the sugar paste.
Best way to serve conchas?
My favorite is still the simplest: slightly warm concha with café con leche, champurrado, or café de olla.