Rescue your homemade salsa with taquería-level troubleshooting. Learn how to thicken watery salsa, tame bitterness, and wake up bland flavor with simple, au...
The Mexi Plate
Comal, Oven, or Grill? Roasting Veggies for Salsa

Elena Valdés
Elena Valdés is a Mexican-American home cook and the culinary heart behind MexiPlate. Inspired by the bustling kitchens of her childhood in Jalisco and Texas, she specializes in translating authentic Mexican flavors into approachable recipes for everyday cooks. Whether she is sharing her grandmother's secret for the perfect tamale masa or a quick 30-minute weeknight enchilada bake, Elena believes that good food is the best way to bring people together.
Published October 17, 2026
Updated October 17, 2026
When I was little, my abuela would say, “La salsa empieza en el fuego.” Salsa starts in the fire. And she was right. Roasting tomatoes, onions, and chiles is not just a step, it is where the flavor gets its backbone.
But here is the real-life question for most of us: do you roast on a comal, in the oven, or on the grill? They all work, and they all taste a little different. Let me walk you through what each method does best, how to do it without stress, and how to choose the right roast for the salsa you want today.
One quick note about timing: all time ranges in this guide are starting points. Tomato size, pan thickness, burner strength, broiler power, and grill heat can change everything. Trust the signs more than the clock: blistered skins, softened flesh, and that toasty aroma.
What roasting changes
Raw salsa has a bright, crisp bite. Roasted salsa has depth: sweetness from caramelized onion, richer tomato flavor, and that irresistible toasted chile aroma that smells like a taquería.
- Char adds a slightly bitter, smoky edge that makes salsa taste more complex.
- Caramelization boosts sweetness, especially in onions and tomatoes.
- Moisture loss concentrates flavor and thickens salsa naturally.
- Toasted skins bring a rustic earthiness. You can keep or peel depending on the style you want.
Quick choosing guide
If you want the fastest answer, use this:
- Comal: best for everyday salsa roja and salsa tatemada flavor, quick and very cocina de casa. Great control over char.
- Oven broiler: best for big batches and even roasting without babysitting. Great for meal prep salsas.
- Grill: best for outdoor cooking and big smoky flavor. Perfect for carne asada nights and chunkier salsas.
Method 1: Comal
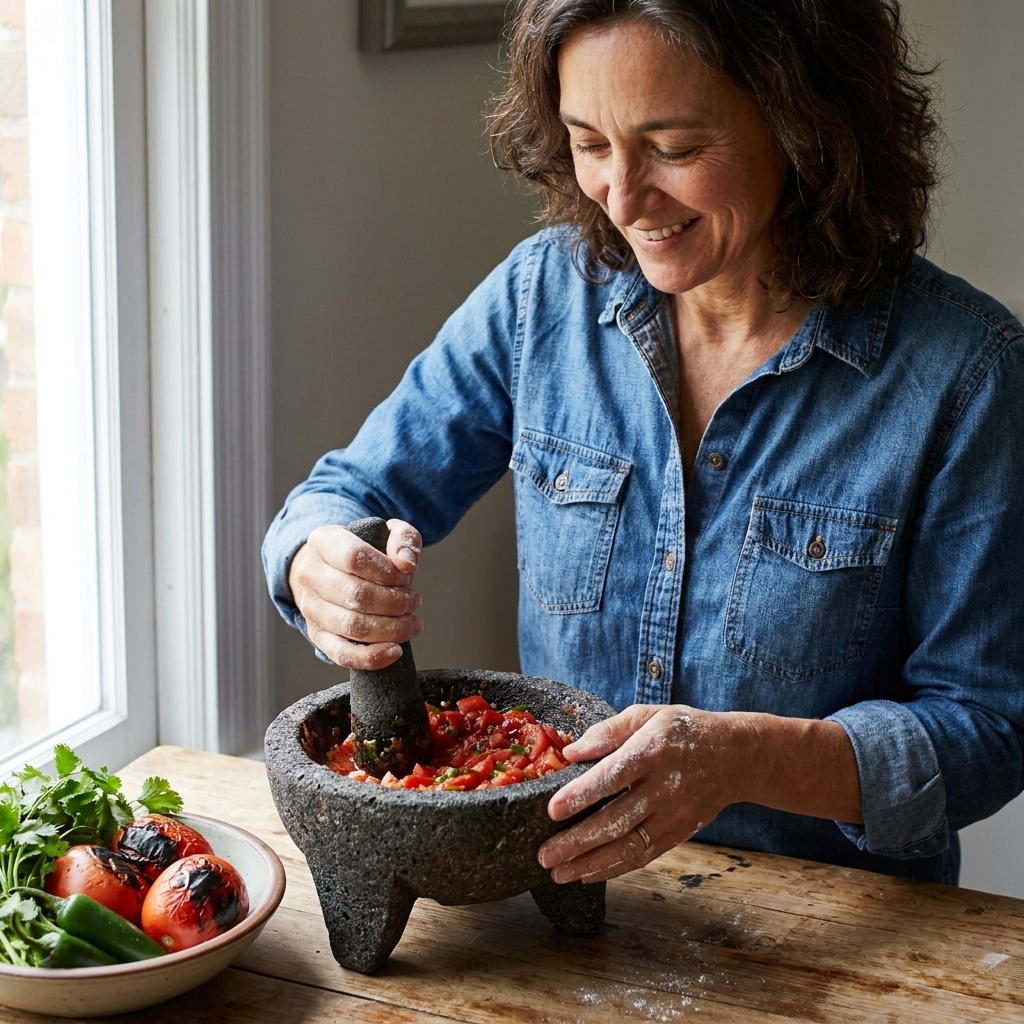
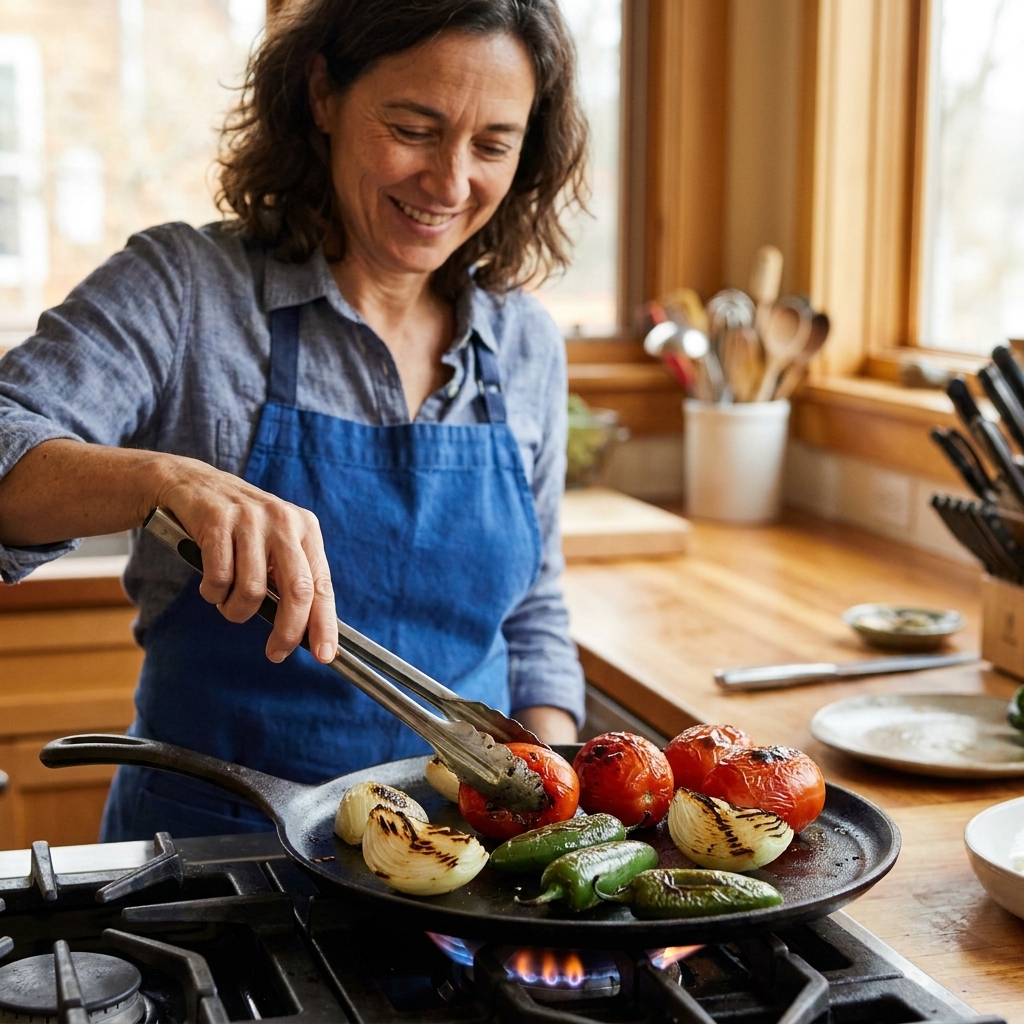
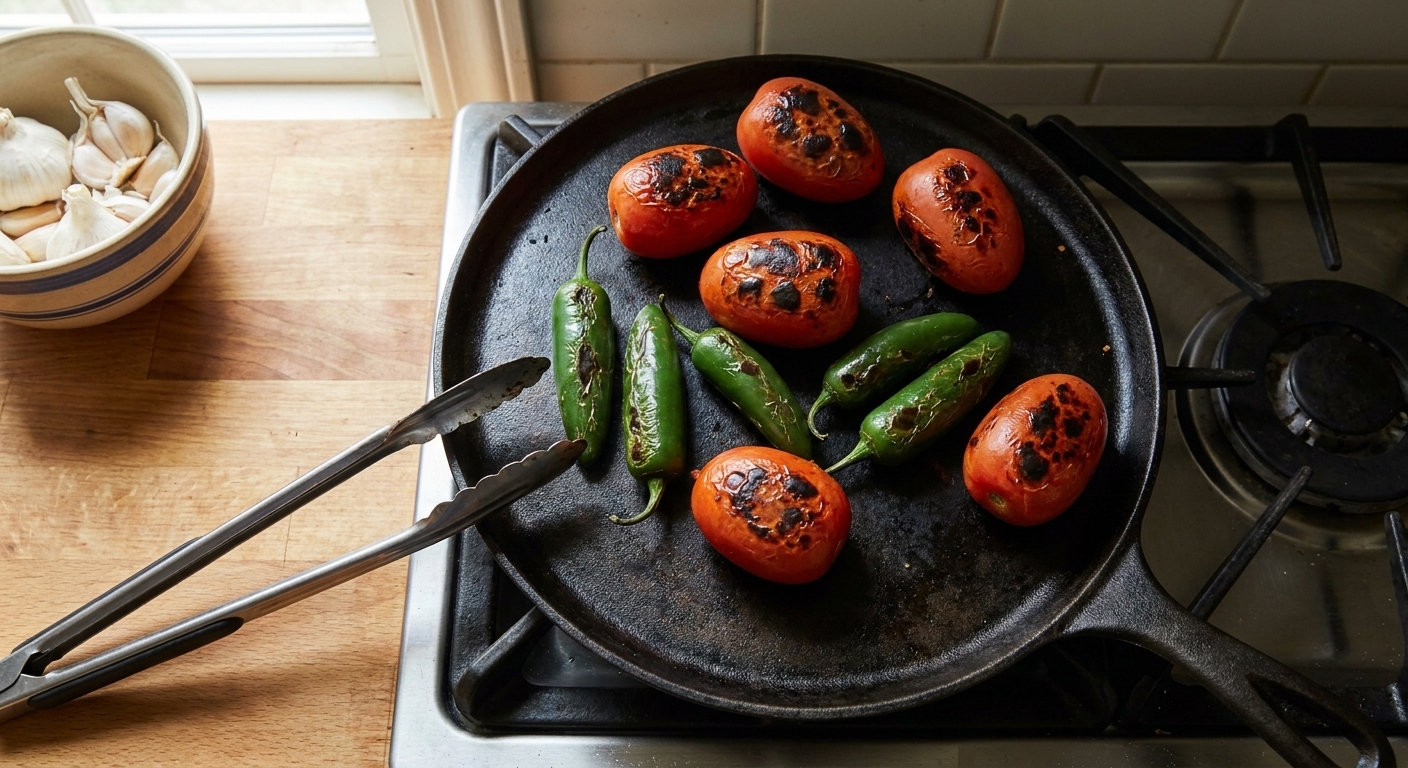
A comal gives you that classic tatemado roast: blistered skins, spotty black char, and a deep toasted aroma. This is the flavor I grew up with in Jalisco kitchens, because a comal is always nearby.
Best for
- Small to medium batches
- Salsas where you want strong roast flavor without tasting baked
- Tomatoes, tomatillos, onions, jalapeños, serranos, garlic cloves (unpeeled)
How to do it
Heat: Medium-high. Let the comal preheat 3 to 5 minutes so the vegetables blister, not steam.
Roast: Place tomatoes (whole), onion slices or wedges, and chiles directly on the dry surface. No oil is the classic approach.
- Tomatoes: 8 to 12 minutes total, turning occasionally, until the skins are blistered and the flesh is softened and juicy.
- Onion: 6 to 10 minutes until browned with some char on the edges and slightly tender.
- Jalapeños: 6 to 9 minutes until blistered all over. Rotate with tongs.
- Garlic (unpeeled): 6 to 10 minutes, turning often, until softened inside and spotty-browned on the outside.
Elena’s tips
- Do not overcrowd. Give everything breathing room or you will trap steam and lose char.
- Expect smoke. Turn on your vent, open a window, and trust the process.
- Use a bowl to catch juices. Transfer roasted tomatoes to a bowl as they finish. Those juices are gold for salsa texture.
- For milder salsa: After roasting, slit jalapeños and scrape seeds and veins before blending.
Flavor profile
Bold, toasty, and very traditional. You get char in specific spots, which makes salsa taste lively and rustic.
Method 2: Oven broiler
If you are making salsa for a party, stocking the fridge for the week, or simply do not want to stand at the stove turning vegetables, the broiler is your best friend. It gives you consistent blistering and lets you roast a lot at once.
Best for
- Medium to large batches
- Hands-off roasting
- Even softening for smoother salsas
How to do it
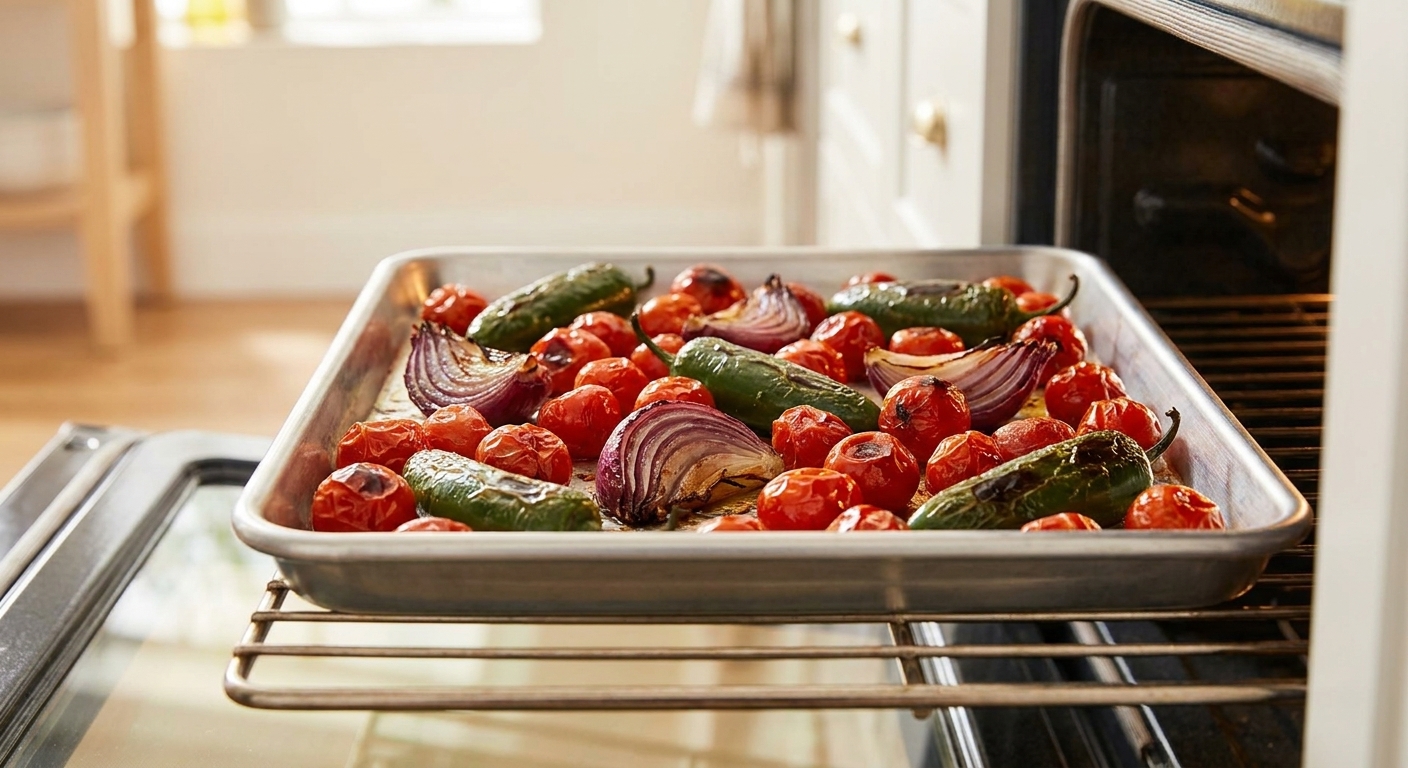
Set up: Line a rimmed sheet pan with foil for easy cleanup. Place an oven rack 4 to 6 inches from the broiler.
Broil: High broil.
- Tomatoes: 6 to 10 minutes per side, turning once, until blistered and softened.
- Onion: 8 to 12 minutes total, flipping halfway.
- Jalapeños: 6 to 10 minutes total, turning once or twice for even blistering.
- Garlic (unpeeled): 8 to 12 minutes total, turning once, until softened.
Elena’s tips
- Oil is optional. Tatemado-style roasting is often done dry, but a tiny swipe of oil can help browning in some ovens. If you use oil, keep it minimal so the vegetables roast instead of fry.
- Do not walk away. Broilers go from perfect blister to bitter black fast.
- Catch the liquid. Tip the sheet pan juices into your blender. That concentrated tomato-onion essence matters.
- If your salsa tastes flat: Add a pinch of salt and a squeeze of lime at the end. Oven roasting can taste a little rounder and sometimes needs that final bright note.
Flavor profile
Evenly roasted, slightly sweeter, and mellow. Great for silky blended salsas and for anyone who prefers less aggressive char.
Method 3: Grill
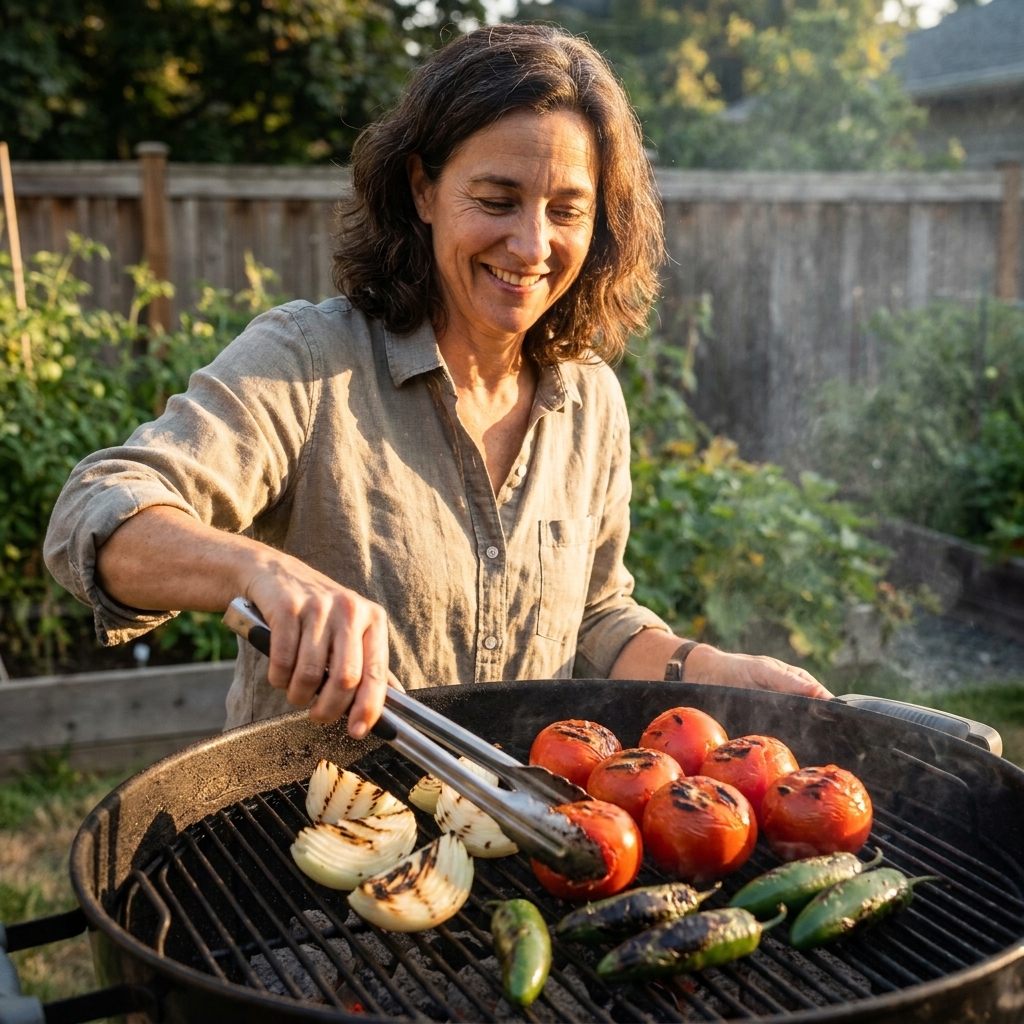
Grilling is the move when you want salsa that tastes like a backyard carne asada night. It adds real smoke, and the high heat gives you gorgeous blistering. If you already have the grill on for proteins, roasting salsa vegetables alongside is extra flavor for almost no extra work.
Best for
- Smoky salsa for tacos, grilled meats, and quesadillas
- Chunkier salsas where you like a little bite
- Outdoor cooking and big-batch roasting
How to do it
Heat: Medium-high, clean grates. You can use gas or charcoal.
Roast: Place tomatoes, onion wedges (keep the root end if you can so they hold together), and chiles directly on the grates.
- Tomatoes: 8 to 12 minutes, turning until blistered and softened.
- Onion wedges: 8 to 14 minutes, turning once or twice until you get charred edges and tender layers.
- Jalapeños: 6 to 10 minutes, turning until blistered all over.
Elena’s tips
- Use a grill basket for small pieces. It keeps garlic and little chiles from falling through.
- Go easy on oil. A light brush is fine, but too much oil can cause flare-ups and harsh burnt spots.
- Peel if you want a smoother salsa. After grilling, place chiles in a bowl and cover for 5 minutes. The steam loosens skins.
- Foil is fair game. If your onions are falling apart or your tomatillos are sticking, a sheet of foil on the grate can save the day.
Flavor profile
Smoky, bold, and a little wild. The grill adds an unmistakable outdoor aroma that makes even a simple salsa taste special.
Doneness cues
Tomatoes
Look for blistered skins and softened flesh. If they are still firm inside, your salsa can taste raw. If they are completely collapsed and dried out, your salsa can taste overly sweet and jammy.
Tomatillos
Tomatillos behave differently than tomatoes. They go from bright and sharp to deeper and rounder once roasted.
- What to look for: blistered spots, a color shift from bright green to olive-green, and softened flesh that feels slightly sticky.
- Comal timing: usually 6 to 10 minutes total, turning as they blister.
- Broiler timing: usually 8 to 12 minutes total, turning once, until softened and speckled.
Roasted tomatillos make salsa verde taste less piercing and more balanced, especially once you blend them with roasted chiles and a little onion.
Onions
Aim for browned edges and a little tenderness. You want the bite to mellow, but you still want onion personality. White onion is a classic in many salsa bases, but yellow, red, and spring onions all have a place depending on the salsa and the meal.
Jalapeños and serranos
Go for blistered, black-spotted skin. That toasted skin is where the flavor lives. After roasting, decide your heat level:
- Keep seeds and veins for more heat.
- Remove seeds and veins for a milder salsa.
- Use serranos if you want a sharper, hotter kick.
Dried chiles
Dried chiles can take a roasted salsa from good to unforgettable, but they burn fast. Toast them on a dry comal or skillet over medium heat just until fragrant and slightly darkened, usually 10 to 30 seconds per side. If they turn black, they will taste bitter. For extra insurance, you can soak toasted chiles in hot water for 10 minutes before blending.
Peel or not?
This is one of those it depends answers, and that is totally okay.
- Leave skins on for rustic salsas, especially comal-roasted salsa tatemada. The char adds complexity.
- Peel skins off if you want a smoother texture or if anyone in your house is sensitive to tomato skin bits.
If you peel, do it after roasting: let tomatoes cool slightly, then slip skins off with your fingers. For jalapeños, cover them 5 minutes to steam, then peel if desired.
Common mistakes
- Everything tastes steamed, not roasted: Your pan or comal was not hot enough, or it was overcrowded. Work in batches and preheat properly.
- Salsa tastes bitter: Too much black char. A few black spots are delicious. Completely blackened skins can overwhelm. Next time, pull earlier and rotate more often.
- Salsa tastes flat: Add salt slowly, then finish with lime juice or a splash of vinegar. Also consider blending in a raw handful of cilantro for lift.
- Too spicy: Remove seeds and veins from the jalapeños after roasting, and blend with an extra roasted tomato to dilute heat.
- Not spicy enough: Add one roasted serrano, or blend in a toasted dried chile (like árbol), careful not to burn it.
My go-to ratios
Once your vegetables are roasted, this is a reliable starting point you can adjust to taste:
- 4 medium tomatoes (or 6 Roma)
- 1/4 to 1/2 onion
- 1 to 2 jalapeños
- 1 garlic clove, roasted (optional but wonderful)
- Big pinch of salt, then adjust
- Handful of cilantro (optional)
- Squeeze of lime (optional, especially for oven-roasted)
Blend smooth for a taquería-style salsa, or pulse for a chunkier dip. If you want it more table-salsa, stir in a spoonful of water at the end. If you want it thicker, blend less or drain off a little juice.
FAQ
Can I roast frozen vegetables?
You can, but it is harder to get true char because frozen vegetables release water. If that is what you have, use the oven broiler on a very hot sheet pan and roast longer until moisture evaporates. Flavor will be a bit softer, but still tasty.
What if I do not have a comal?
A cast iron skillet is the closest substitute. Stainless steel also works, but it can stick more. Nonstick pans tend to char less, but in a pinch they still soften vegetables and deepen flavor.
Is grilled salsa always smokier?
Usually, yes. A comal gives you toasted char. A grill can give you toasted char plus real smoke, especially over charcoal.
How do I store roasted salsa?
Cool it, then refrigerate promptly in a sealed container. It keeps well for about 3 to 5 days. The flavor often gets even better by day two as everything mingles.
My final nudge
If you are new to roasting for salsa, start with the comal or a cast iron skillet. It teaches your eyes and nose what perfect blister looks and smells like. Then use the oven when you need ease, and the grill when you want that backyard magic.
However you roast, do not chase perfection. A little uneven char is part of the charm. That is the taste of real home salsa.